画像認識が行いたいです。
このような要望にお応えします。
機械学習、深層学習を中心としたAI技術が注目を集めています。
その応用先の1つとして画像認識が挙げられます。
画像認識のタスクとしては、大きく以下のものがあります。
- 画像分類・・・画像中の物体があらかじめ定義したカテゴリ内でどのカテゴリに属するのかを求める。
- 物体検知(画像検出)・・・画像中の物体の位置とカテゴリを検出する。
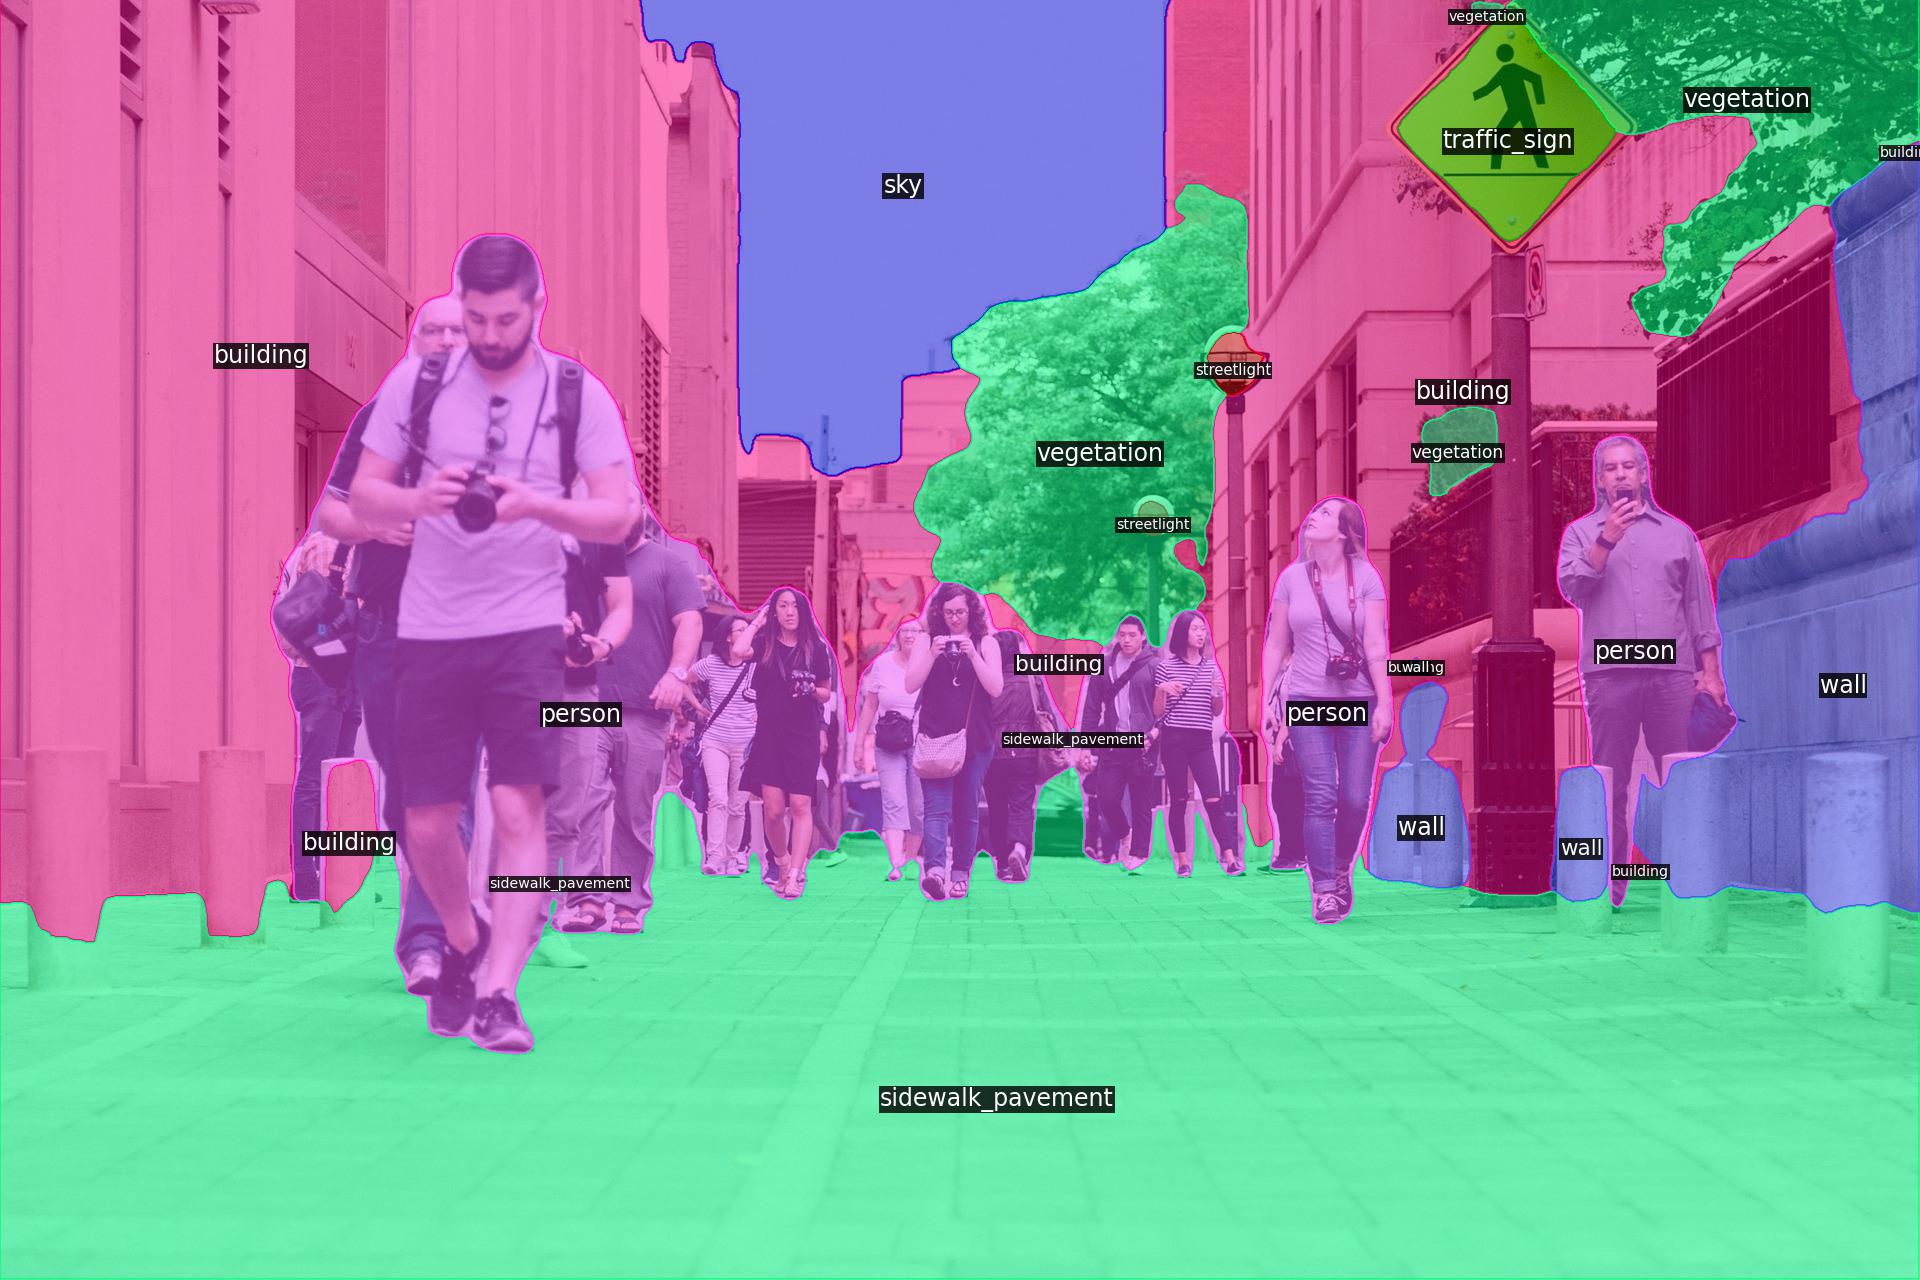
- 画像セグメンテーション・・・画像中の画素単位で物体のカテゴリを求める。
今回は、画像認識タスクのひとつである画像セグメンテーションを行います。
以下を参考にさせていただきました。
- https://github.com/mseg-dataset/mseg-semantic
- https://github.com/leoxiaobin/deep-high-resolution-net.pytorch
- https://www.jstage.jst.go.jp/article/jrsj/35/3/35_35_180/_pdf
画像セグメンテーションについて
画像セグメンテーションは、Semantic Segmentation と呼ばれるように、画像全体や画像の一部の検出ではなく画素単位でラベル付けしていきます。
画像セグメンテーションのモデルは様々提案されていますが、今回は学習済みHRNetモデルで画像セグメンテーションを行います。
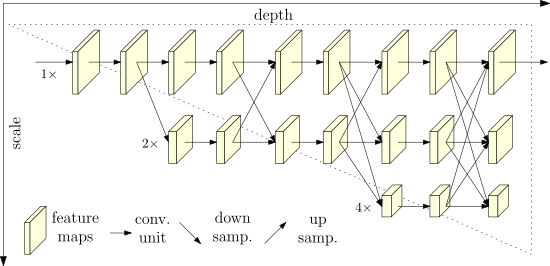
HRNet(高解像度ネットワーク)は、プロセス全体を通して高解像度の表現を維持します。高解像度から低解像度の畳み込みストリームを並列に接続し、解像度を超えて情報を繰り返し交換することにより実現しています。人間の姿勢推定、セマンティックセグメンテーション、オブジェクト検出を含む幅広いアプリケーションで利用されています。
以下のツールを使用します。
- https://github.com/mseg-dataset/mseg-semantic
ざっくりとソースコードを確認しました。
デフォルトでは、学習済みHRNetモデルを用いて画像セグメンテーションを行います。
default_config_360.yamlより抜粋。
|
1 2 3 4 5 6 7 |
TRAIN: arch: hrnet network_name: layers: 50 zoom_factor: 8 # zoom factor for final prediction during training, be in [1, 2, 4, 8] ignore_label: 255 workers: 16 |
inference_task.pyでモデルの定義と学習済みパラメータの設定をしているようです。
|
1 2 3 4 5 6 7 8 9 10 11 12 13 14 15 16 17 18 19 20 21 22 23 24 25 26 27 28 29 30 31 32 33 34 35 36 37 38 39 40 41 42 43 44 45 |
def load_model(self, args): """ Load Pytorch pre-trained model from disk of type torch.nn.DataParallel. Note that `args.num_model_classes` will be size of logits output. Args: - args: Returns: - model """ if args.arch == 'psp': model = PSPNet( layers=args.layers, classes=args.num_model_classes, zoom_factor=args.zoom_factor, pretrained=False, network_name=args.network_name ) elif args.arch == 'hrnet': from mseg_semantic.model.seg_hrnet import get_configured_hrnet # note apex batchnorm is hardcoded model = get_configured_hrnet(args.num_model_classes, load_imagenet_model=False) elif args.arch == 'hrnet_ocr': from mseg_semantic.model.seg_hrnet_ocr import get_configured_hrnet_ocr model = get_configured_hrnet_ocr(args.num_model_classes) # logger.info(model) model = torch.nn.DataParallel(model) if self.use_gpu: model = model.cuda() cudnn.benchmark = True if os.path.isfile(args.model_path): logger.info(f"=> loading checkpoint '{args.model_path}'") if self.use_gpu: checkpoint = torch.load(args.model_path) else: checkpoint = torch.load(args.model_path, map_location='cpu') model.load_state_dict(checkpoint['state_dict'], strict=False) logger.info(f"=> loaded checkpoint '{args.model_path}'") else: raise RuntimeError(f"=> no checkpoint found at '{args.model_path}'") return model |
inference_task.pyのこちらで画像セグメンテーションを実施しているようです。
画像、動画のどちらのデータにも対応されているみたいです。
|
1 2 3 4 5 6 7 8 9 10 11 12 13 14 15 16 17 18 19 20 21 22 23 24 25 26 27 28 29 30 31 32 33 34 35 36 |
def execute(self) -> None: """ Execute the demo, i.e. feed all of the desired input through the network and obtain predictions. Gracefully handles .txt, or video file (.mp4, etc), or directory input. """ logger.info('>>>>>>>>>>>>>>>> Start inference task >>>>>>>>>>>>>>>>') self.model.eval() suffix = self.input_file[-4:] is_dir = os.path.isdir(self.input_file) is_img = suffix in ['.png', '.jpg'] is_vid = suffix in ['.mp4', '.avi', '.mov'] if is_img: self.render_single_img_pred() elif is_dir: # argument is a path to a directory self.create_path_lists_from_dir() test_loader = self.create_test_loader() self.execute_on_dataloader(test_loader) elif is_vid: # argument is a video self.execute_on_video() elif not is_dir and not is_img and self.args.dataset != 'default': # evaluate on a train or test dataset test_loader = self.create_test_loader() self.execute_on_dataloader(test_loader) else: logger.info('Error: Unknown input type') logger.info('<<<<<<<<<<<<<<<<< Inference task completed <<<<<<<<<<<<<<<<<') |
それでは、画像セグメンテーションを行います。
Google Colaboratoryの準備
・Googleのアカウントを作成します。
・Googleドライブにアクセスし、「新規」→「その他」から「Google Colaboratory」の順でクリックします。そうすると、Colaboratoryが起動します。
・Colaboratoryが起動したら、以下のコマンドをCoalboratoryのセルに入力し実行します。
そうすることで、Googleドライブをマウントします。
|
1 2 |
from google.colab import drive drive.mount('/content/drive') |
・実行後、認証コードの入力が促されます。このとき、「Go to this URL in a browser」が指しているURLにアクセスしgoogleアカウントを選択すると、認証コードが表示されますので、それをコピーしenterを押します。これでGoogleドライブのマウントが完了します。
画像セグメンテーションツールの準備
Google Colaboratoryの「ランタイム」→「ランタイムのタイプ変更」でGPUを選択します。
ツールをダウンロードする場所に移動します。 本記事では、マイドライブにツールをダウンロードします。
|
1 |
cd drive/My\ Drive |
ツールをダウンロードします。
|
1 |
!git clone https://github.com/mseg-dataset/mseg-api |
ダウンロードしたフォルダに移動します。
|
1 |
cd mseg-api/ |
ツール実行に必要なライブラリをインストールします。
|
1 2 |
!pip install -r requirements.txt !pip install -e /content/drive/My\ Drive/mseg-api/ |
マイドライブに戻ります。
|
1 |
cd /content/drive/My\ Drive |
引き続きツール実行に必要なソフトウェアをダウンロードします。
|
1 |
!git clone https://www.github.com/nvidia/apex |
必要なライブラリをインストールします。
|
1 |
!pip install -e /content/drive/My\ Drive/apex |
引き続きツール実行に必要なソフトウェアをダウンロードします。
|
1 |
!git clone https://github.com/mseg-dataset/mseg-semantic |
必要なライブラリをインストールします。
|
1 |
!pip install -e /content/drive/My\ Drive/mseg-semantic |
学習済みパラメータをダウンロードします。
|
1 2 |
cd /content !wget https://mseg-models.s3-us-west-1.amazonaws.com/mseg-3m.pth |
必要なライブラリをインストールします。(インストール済みであれば、実施しなくてもいいと思います。)
|
1 |
!pip install yacs |
マイドライブに戻ります。
|
1 |
cd /content/drive/My\ Drive |
これで準備完了です。
以下のプログラムを実行することで画像セグメンテーションを実施することができます。
出力結果表示処理を定義しています。
|
1 2 3 4 5 6 7 8 9 10 11 12 13 14 15 16 |
import imageio import matplotlib.pyplot as plt from pathlib import Path def show_img_and_predictions(img_fname): """ Show the original RGB image, and then the overlaid predictions. """ fname_stem = Path(img_fname).stem rgb_img = imageio.imread(f'/content/{fname_stem}.jpg') fig = plt.figure(figsize=(14,8)) plt.imshow(rgb_img) plt.axis('off') plt.show() overlaid_img = imageio.imread(f'/content/{fname_stem}_overlaid_classes.jpg') fig = plt.figure(figsize=(14,8)) plt.imshow(overlaid_img) plt.axis('off') plt.show() |
こちらでモデルと入力画像を指定して実行しています。
|
1 2 3 4 5 6 |
config_fpath = "mseg-semantic/mseg_semantic/config/test/default_config_360.yaml" !python -u mseg-semantic/mseg_semantic/tool/universal_demo.py \ --config="$config_fpath" \ model_name mseg-3m \ model_path /content/mseg-3m.pth input_file /content/drive/My\ Drive/data.jpg |
動画を入力したい場合も上記と同様にできます。
|
1 2 3 4 5 6 |
config_fpath = "mseg-semantic/mseg_semantic/config/test/default_config_360.yaml" !python -u mseg-semantic/mseg_semantic/tool/universal_demo.py \ --config="$config_fpath" \ model_name mseg-3m \ model_path /content/mseg-3m.pth input_file /content/drive/My\ Drive/mseg-semantic/data/movie.mp4 |
出力結果
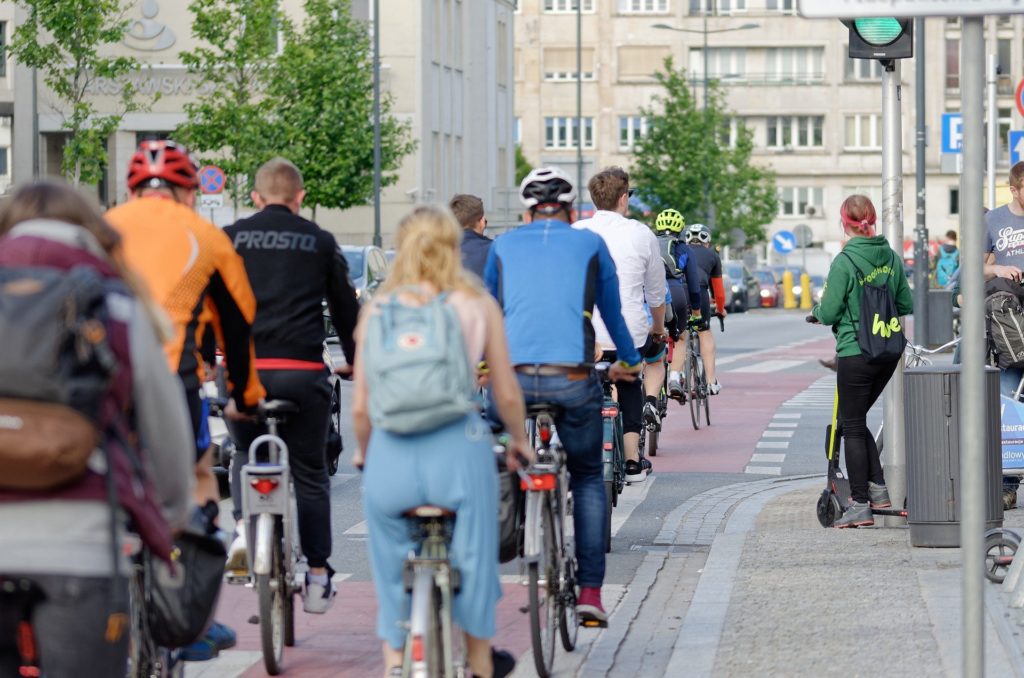
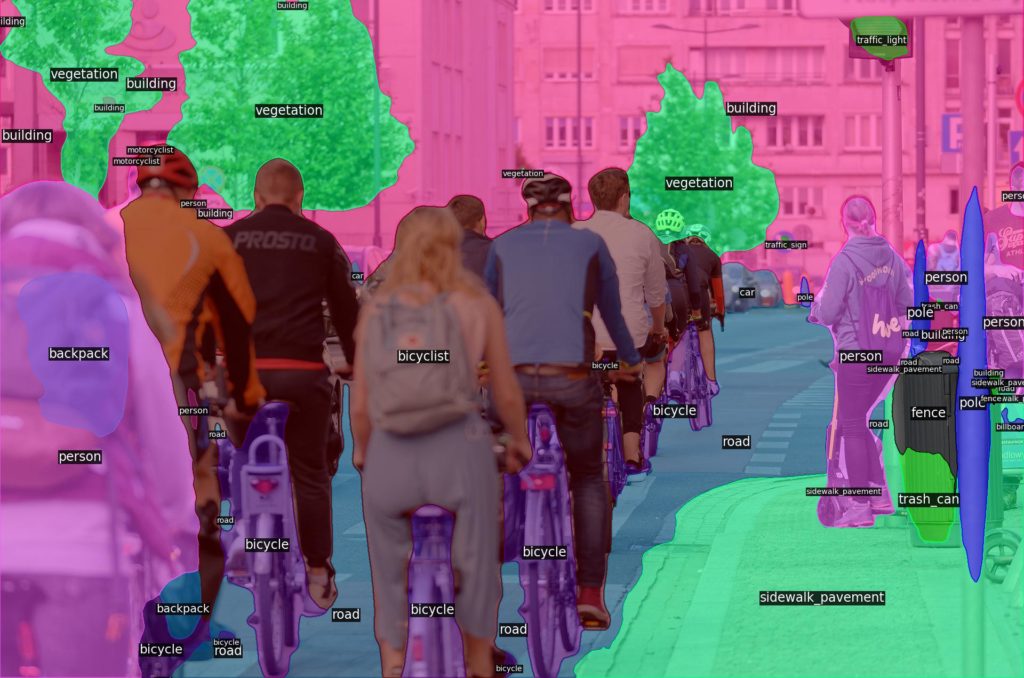
出力結果は、以下になります。
出力例1
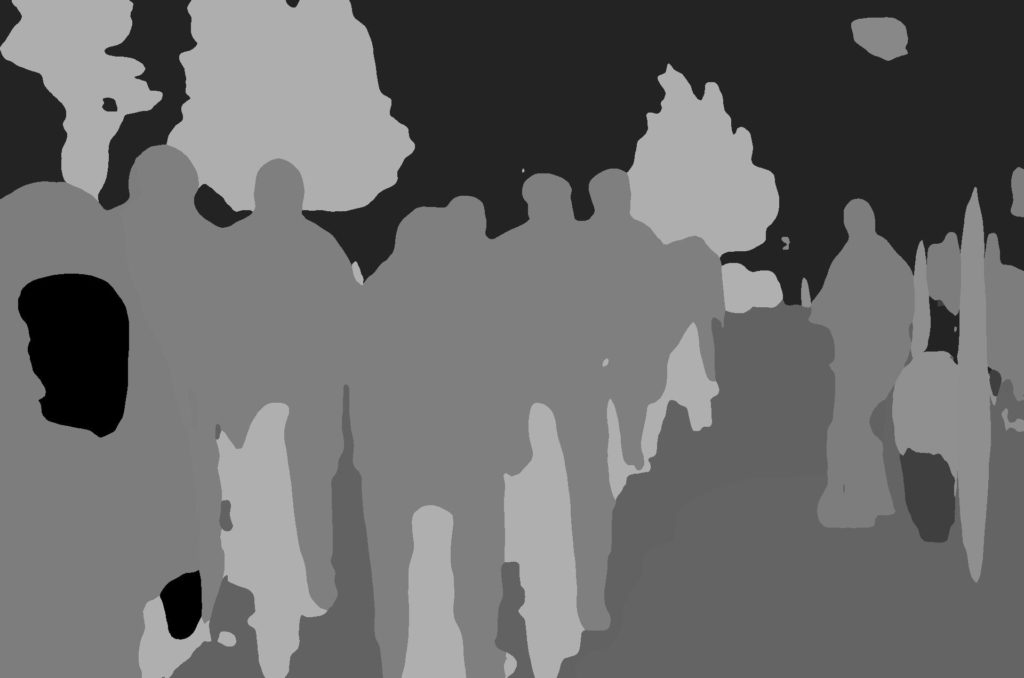
出力例2

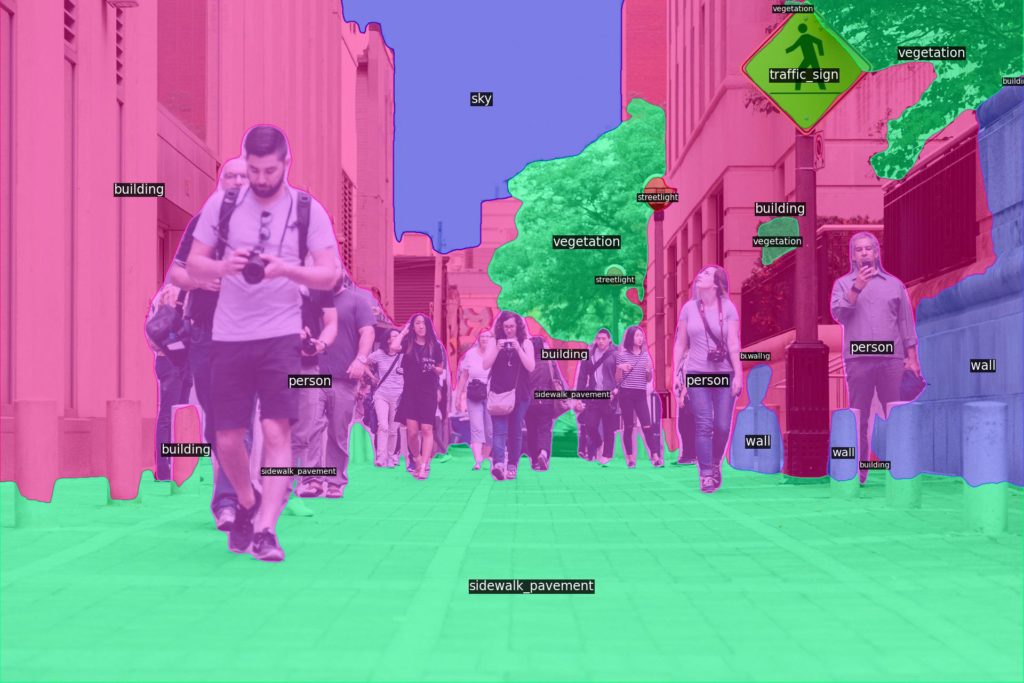

出力例3
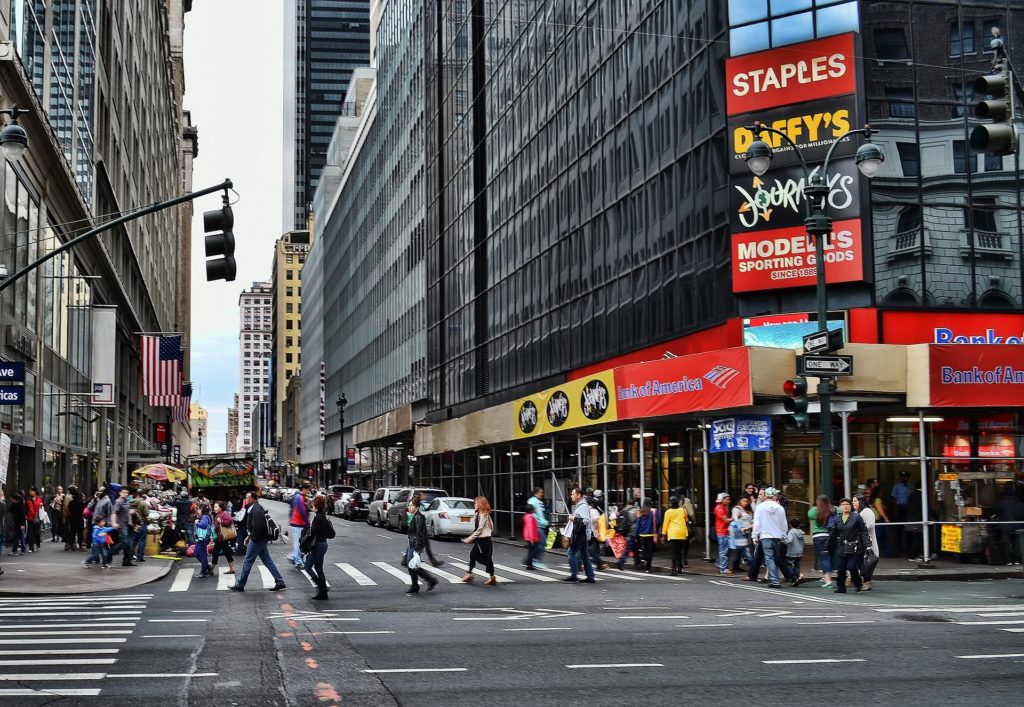
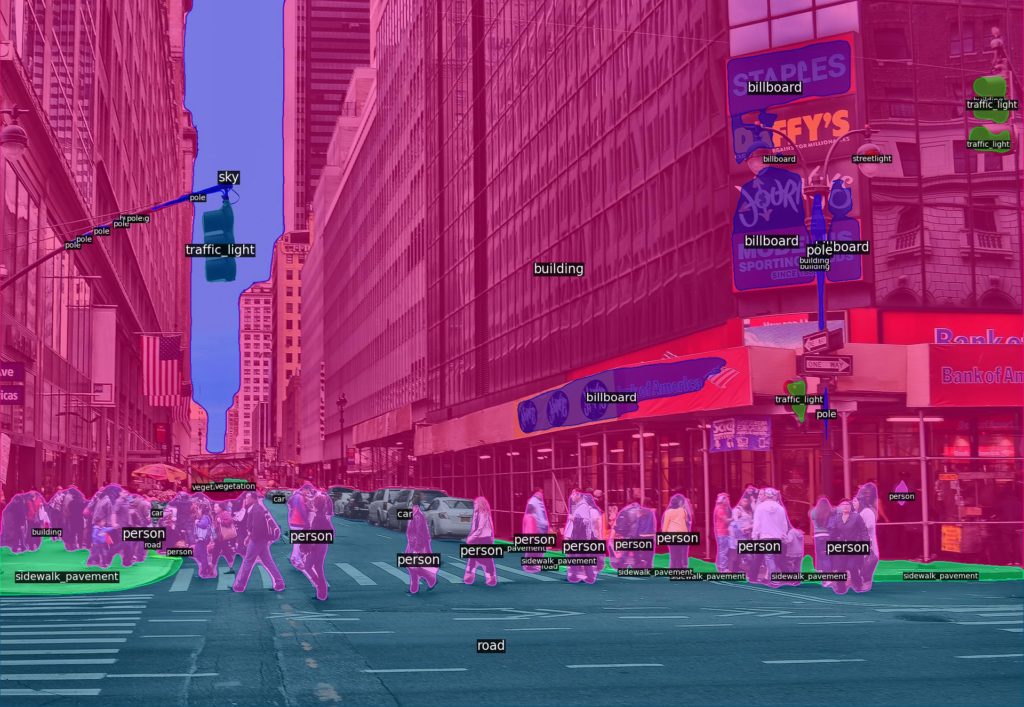
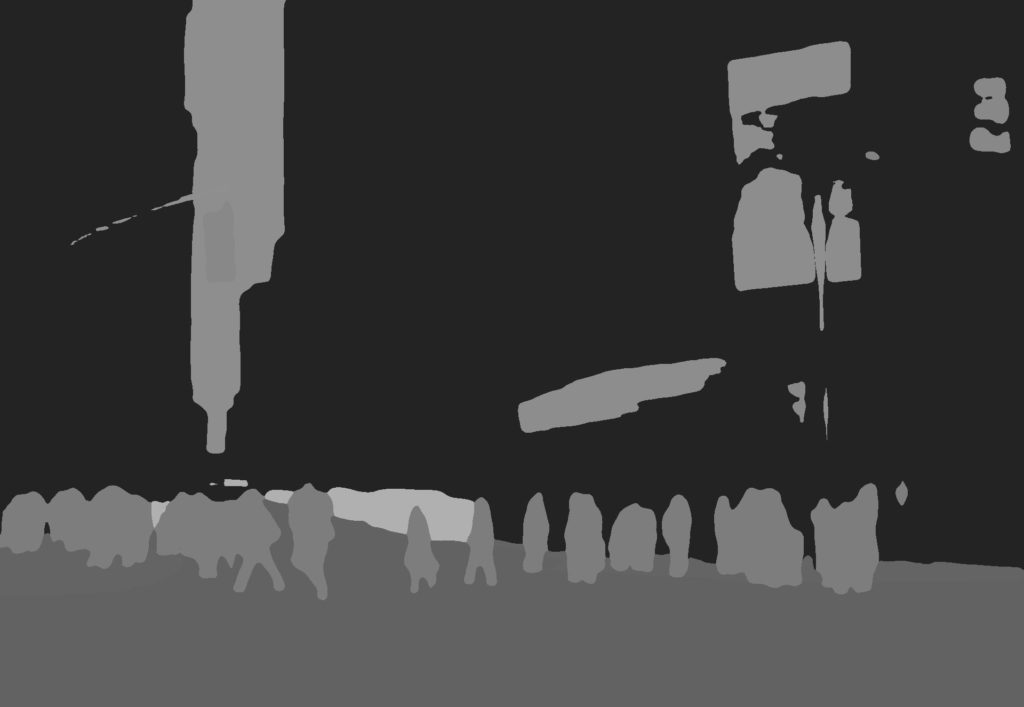
出力例4

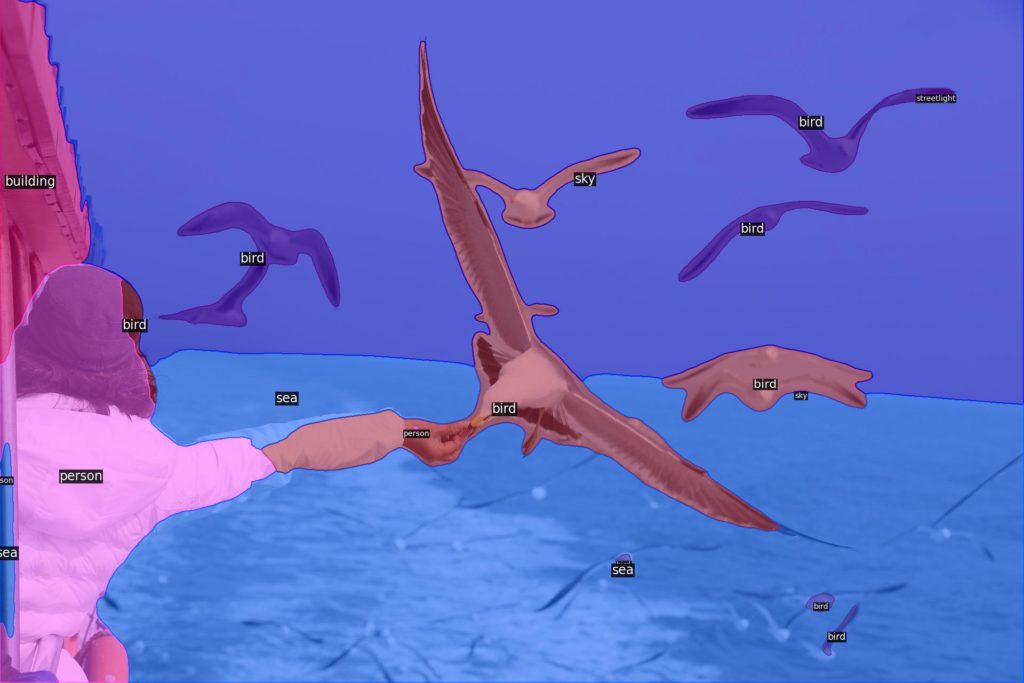
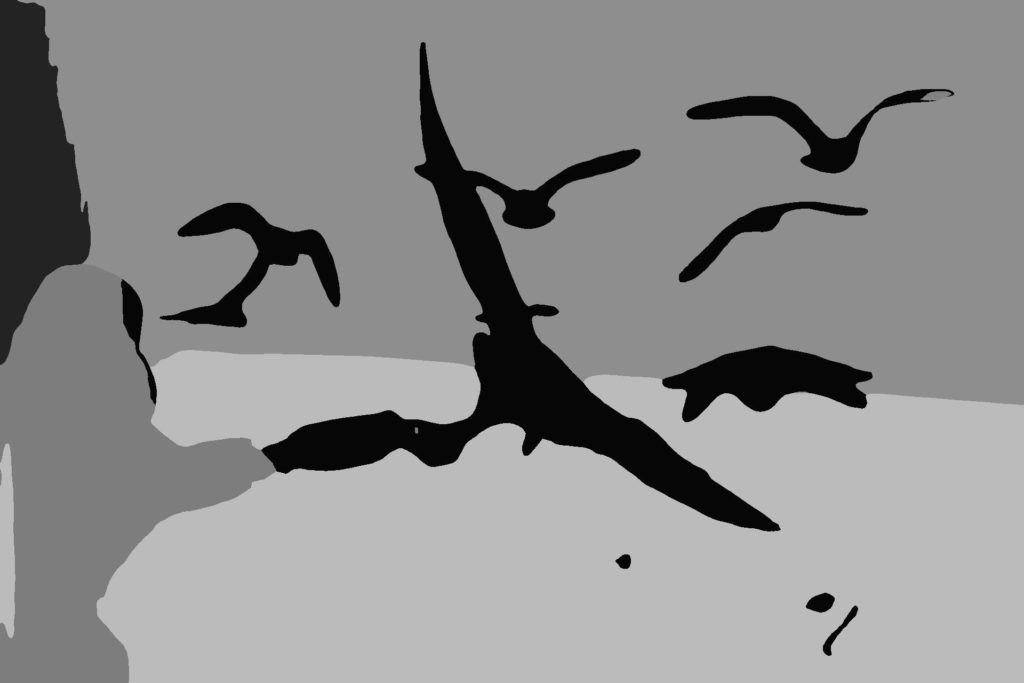
出力例5

このツールにより画像セグメンテーションを気軽に試すことができますので使用してみてはいかがでしょうか。
